Marketing

YouTube & Recordings

The MSA hosts several important educational talks, from weekly halaqahs (Arabic classes, tajwid lessons, seerah halaqahs, and more) to major talks (Islamic finance, Hadith sciences, and more). Recording these lectures and making them available for the future lets audiences keep benefiting from them for time to come.

Recording

Step 1: Ensure you have the appropriate equipment

Step 2: Recording the lecture

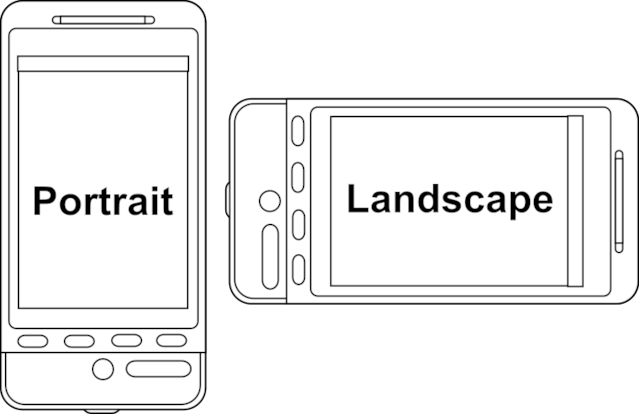
  • Orientation: use landscape mode, since it is most compatible with YouTube.
  • Angle: position the camera up close and in front of the speaker.
  • Do a mic test: test the mic by doing short video tests before the lecture begins.
A phone shown in portrait orientation beside the same phone in landscape orientation
Record in landscape orientation (right), not portrait, for the best fit on YouTube.

Editing the video

Make any necessary edits and ensure everything is in order, that the audio is working and the video is clear. Finally, make sure the end credits are added to the video.

Uploading & YouTube

Step 3: Storing the footage

If you don't have enough storage on your own device, ask a VP to add you to the OneDrive and upload the video file to the appropriate term folder and subfolder.

Step 4: Uploading to YouTube

  1. Ask the VP External/Marketing for the credentials to the MSA YouTube account, then log in.
  2. Click the upload button YouTube create/upload button icon in the top-right corner, click "Upload Video", and select the relevant video.
  3. Title: enter a short but relevant and eye-catching title.
  4. Description: add a detailed description of the video, including relevant chapters.
  5. Thumbnail: design an attractive thumbnail.
  6. Audience: select "No, it's not made for kids" and "No, I don't restrict my videos to viewers over 18 only."
  7. Show more → Tags: add relevant hashtags such as #islam, #muslim, #religion, #iman, and any others.
  8. Click "Next" until you reach the Visibility page, select "Public", and publish the video.